Oh no, my Premier Pro project folders are sooo messed up!
I’m not sure which files I’ve used, and which files I could delete!
What on earth are all these CFA and PEK files, and can I delete them?!
Introduction
Ok, so this is a quick tutorial on how to undertake a couple of steps that will fix a number of problems you might be having with Premier Pro.
Premier pro is a bit of a resource beast. Anyone regularly making content will know how quickly you can chew up a hundred GB chunk of a hard drive, and if you, like me, are quite meticulous about saving backups, both offline and online, then you’ll more than likely benefit from this simple tutorial.
Before we start, what are CFA files? “Adobe Conformed Audio”. These are stored audio files that contain audio data that has been conformed to a proprietary Adobe format. They’re basically pre-rendered snippets of audio that are saved in your project folders – basically using them as a cache for speedy access while you’re tracking through your timeline.
Scenario 1 – archiving
You could be, like me, at the end of a project, you’ve finished your production, you’ve sent it on to the client and they’re happy, or you’ve published your video and you won’t need to play with the project for some time. You clearly don’t want to delete the source files, but you want to ensure that everything that’s being used in your project is saved, and everything that’s superfluous gets deleted.
Scenario 2 – sending the file to another collaborator
You might need to send this on to another editor, but you need to ensure that they get all the files they need, and nothing more – you don’t want to have to upload 100GB when you don’t need to.
Scenario 3 – Saving space
This is clearly linked to the previous two scenarios, but I think it’s important enough to mention it all by itself. You might have a number of projects on the go, but you’re getting close to the limit of your 500GB SSD, but you don’t want to move any one of your projects over to your backup NAS.
Steps
First of all, lets get a recent project which I’ve finished with, I just want to archive it.
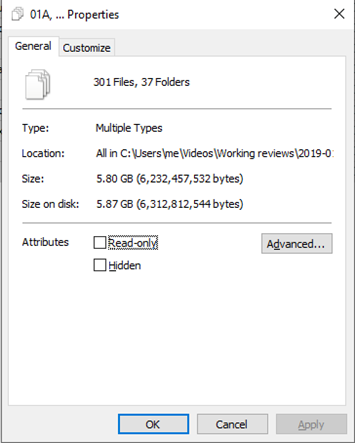
This particular folder is currently 5.8GB, which isn’t too bad compared to some projects. There are just over 300 files too, and a nice nest of 37 folders!
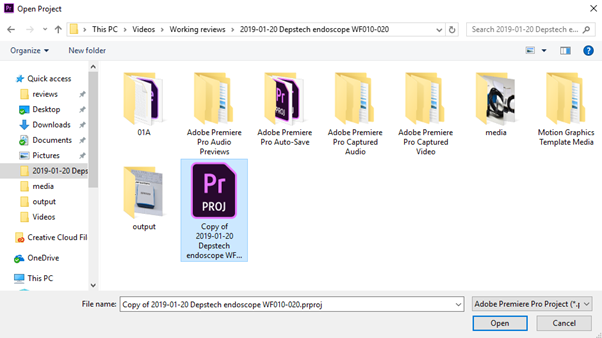
Now fire up Premier pro and open up the project you wish to archive.
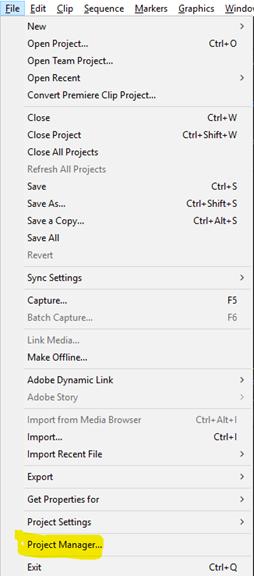
Then, in Premier Pro, click ‘file’, then ‘Project Manager…’
Now, in the Project Manager screen, you’ll see a number of options. The main, space-saving options you need to be aware of are on the right side:
- [tick this] Exclude Unused Clips
- [untick this] Include Audio Conform Files
- [untick this] Include Preview Files
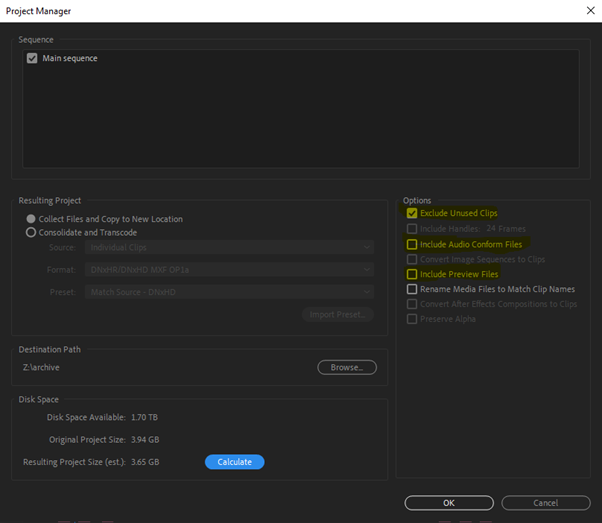
Make sure you select a destination. In my case, I’m selecting my NAS for archiving. Incidentally, as well as this NAS being in another location on-site, it’s also backed-up nightly to an off-site location (there are a number of services available for this, such as BackBlaze, Google Drive, Office 365 etc).
You’ll notice that my project is showing it’ll shrink by around 300MB. Now that’s obviously nothing to be sniffed at, but the thing it’s not showing here, is all of the files that are in the project folders, but aren’t actually included in the project at all. In my case, these will have been pasted in at some point as I was dumping files from either a camera, an SD card or a mobile phone. Don’t forget, the actual folder size of this project was 5.8GB!
Clearly, there’s a point to note here – be aware that this process will only keep files that are actually used in the project. Make sure you have other copies of these files if you wish to keep them! This is particularly important if you’ve made recordings in Premier Pro, such as voice-overs but haven’t actually used them in the end-project – these will be deleted!
Once you’re happy with the options you’ve selected, hit “OK”.
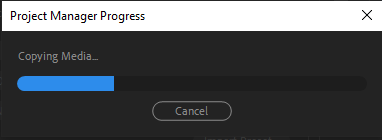
Now depending on the size of your project, the speed of your drives and the options you’ve selected, it may take a few seconds, or it might take a few minutes.
Once it’s done, it’s a good idea to close down Premier Pro, go to the location of your archived project, and open it up from there and just check to make sure you’re happy with it.
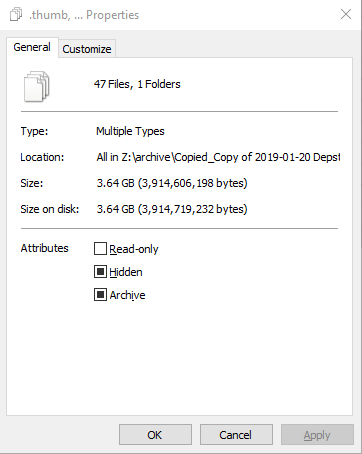
Also, just check out the space savings we’ve achieved here; we’ve gone from 5.8GB and over 300 files, down to a measly 3.6GB and just 44 files!
Conclusion
This sort of process should already be a part of your workflow, but is often neglected. Don’t leave it until it’s too late – make sure everything you consider to be precious is archived and backed up!
We’ve managed to tidy up our working folder, clean up all the cache files we no-longer need, and we’ve got the smallest possible set of files required to edit your project, if ever you need to revisit it.
I have to give a shout out here to the NAS I’ve been using for a number of years now, the Zyxel NAS540, it’s still going strong with a couple of 3TB Western Digital hard drives in it. The newer, NAS542 is now available but I’m not sure it’s really worth the upgrade in my case.
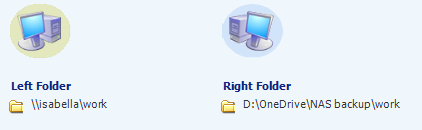
Incidentally, I still use Microsoft’s SyncToy to nightly move stuff from my NAS over to OneDrive for that extra security. Maybe I’ll write a post on how to do that one day…!
If you have any comments, please leave them below and I’ll do my best to answer them